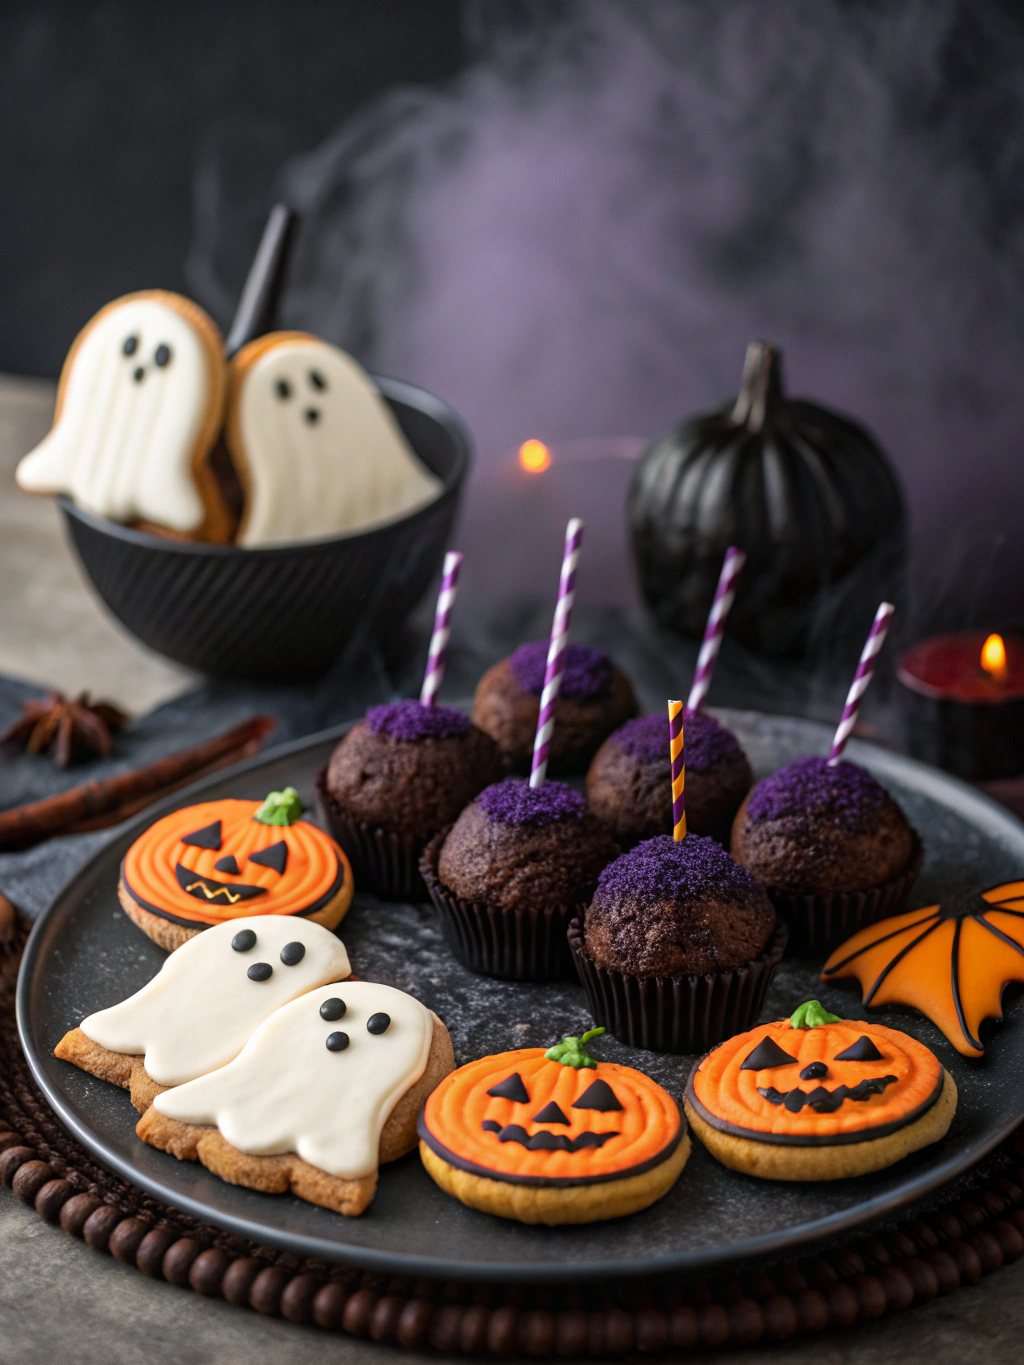
Super Spooky Halloween Desserts to Try: 5 Easy Treats That Will Haunt Your Taste Buds
Are you ready to elevate your Halloween party with some Super Spooky Halloween Desserts to Try? As someone who learned to cook in my grandmother’s kitchen, I’ve discovered that festive treats can create lasting memories just like her mismatched pots and spice jars did for me. Halloween offers the perfect opportunity to blend creativity with deliciousness, transforming ordinary ingredients into extraordinary spooky snacks that will delight both children and adults. From creepy chocolate spiders made with Nabisco Famous Chocolate Wafers to eerie edible eyes that seem to follow you across the room, these desserts bring the perfect balance of fright and flavor to your Halloween celebration.
Why You’ll Love These Spooky Halloween Desserts
Perfect for All Skill Levels
What makes these super spooky Halloween desserts truly special is their accessibility for cooks of all experience levels. Whether you’re a kitchen novice or a seasoned baker, these recipes are designed to be straightforward yet impressive. Like my grandmother who cooked with instinct rather than precise measurements, you’ll find these treats allow for creativity while still producing guaranteed results. The simple techniques used in recipes like chocolate spiders or ghostly cookies give you room to experiment without fear of failure.
Crowd-Pleasing Appearances and Flavors
These Halloween treats aren’t just about spine-chilling appearances they deliver on taste too! The combination of rich chocolate melting wafers in many of these recipes provides a luxurious flavor base that appeals to all ages. What’s more exciting is watching guests’ reactions when they see your spread of spooky food. From the first “ooh” to the last “aah,” these desserts create memorable moments that transform an ordinary gathering into a Halloween spectacular worth repeating year after year.
Wickedly Delicious Chocolate Spiders
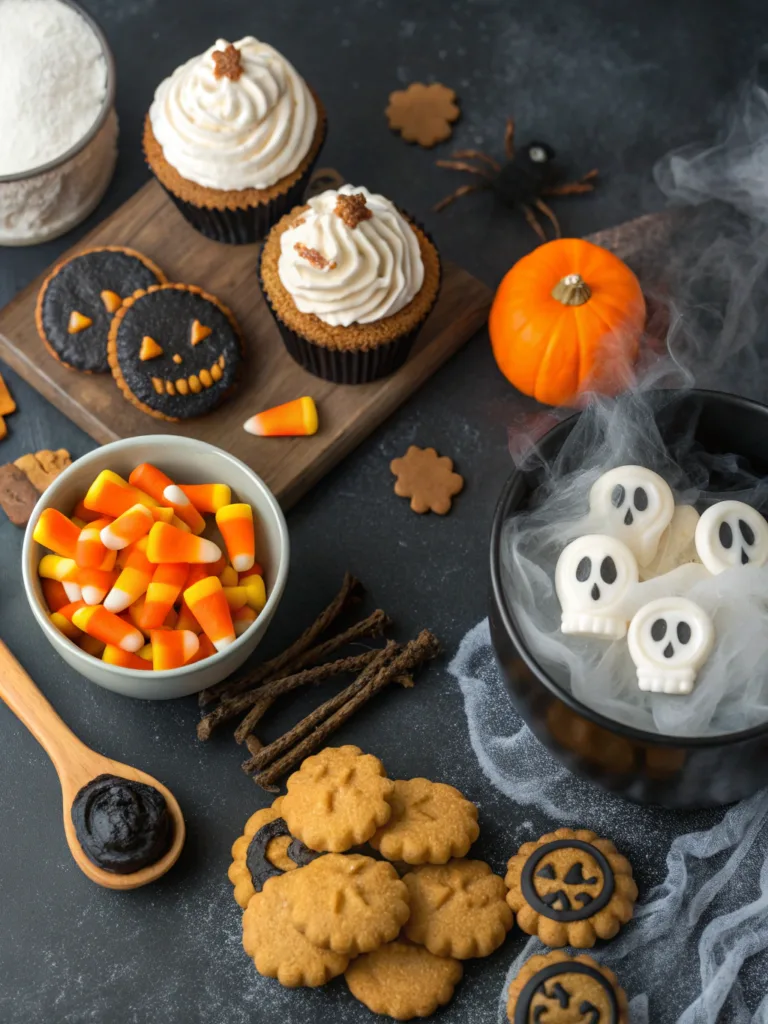
Ingredients
- 1 package Nabisco Famous Chocolate Wafers (crushed for bodies)
- 2 cups chocolate melting wafers
- 1 cup pretzel sticks (broken in half for legs)
- 1/4 cup white chocolate melting wafers
- Edible eyes
- 1 tablespoon vegetable oil
- Parchment paper
- Piping bag or plastic sandwich bag
How to Make
- Line a baking sheet with parchment paper.
- Melt the chocolate melting wafers in a microwave-safe bowl, stirring every 30 seconds until smooth.
- For each spider, place a tablespoon of melted chocolate on the parchment paper and shape into a circle.
- Press a crushed chocolate wafer into the center for the body.
- Arrange 8 pretzel stick halves around the chocolate circle to form legs.
- Melt white chocolate with a bit of vegetable oil and transfer to a piping bag.
- Add small dots of white chocolate to the spider’s head and attach edible eyes.
- Refrigerate for 20 minutes until completely set.
Ghostly Meringue Cookies
Ingredients
- 4 large egg whites (room temperature)
- 1/4 teaspoon cream of tartar
- 1 cup granulated sugar
- 1 teaspoon vanilla extract
- Edible eyes
- Black gel food coloring
- Piping bag with large round tip
How to Make
- Preheat oven to 200°F and line baking sheets with parchment paper.
- Beat egg whites and cream of tartar until foamy.
- Gradually add sugar, continuing to beat until stiff, glossy peaks form.
- Fold in vanilla extract gently.
- Transfer meringue to a piping bag with a large round tip.
- Pipe ghost shapes onto parchment paper, about 2 inches tall.
- Carefully place edible eyes on each ghost.
- Using a toothpick dipped in black gel food coloring, draw small mouths.
- Bake for 1.5 hours, then turn off oven and leave ghosts inside for another hour.
- Store in an airtight container away from moisture.
Monster Eyeball Truffles
Ingredients
- 1 package Nabisco Famous Chocolate Wafers (crushed finely)
- 8 oz cream cheese (softened)
- 2 cups white chocolate melting wafers
- Food coloring (red, blue, green)
- Black gel food coloring
- Toothpicks
- Styrofoam block (for setting)
How to Make
- Mix crushed chocolate wafers with softened cream cheese until well combined.
- Roll mixture into 1-inch balls and place on a parchment-lined tray.
- Freeze balls for 20 minutes to firm up.
- Melt white chocolate melting wafers according to package instructions.
- Divide melted chocolate into separate bowls and add different food coloring to each.
- Insert a toothpick into each truffle ball and dip into colored white chocolate.
- Stick the toothpicks into a Styrofoam block to allow truffles to set upright.
- Once set, use a clean toothpick dipped in black gel food coloring to draw pupils.
- Add thin red lines around the pupils for a bloodshot effect.
- Refrigerate until ready to serve.
Witch Finger Cookies
Ingredients
- 1 cup unsalted butter (softened)
- 1 cup powdered sugar
- 1 egg
- 1 teaspoon vanilla extract
- 1 teaspoon almond extract
- 2 3/4 cups all-purpose flour
- 1 teaspoon baking powder
- 1 teaspoon salt
- Green food coloring (optional)
- Sliced almonds for fingernails
- Red gel food coloring for blood effect
How to Make
- Cream together butter and sugar until light and fluffy.
- Beat in egg, vanilla, and almond extracts.
- In a separate bowl, whisk together flour, baking powder, and salt.
- Gradually add dry ingredients to wet mixture until combined.
- Add a few drops of green food coloring if desired and mix until evenly distributed.
- Cover dough and refrigerate for at least 30 minutes.
- Preheat oven to 325°F and line baking sheets with parchment paper.
- Roll small portions of dough into finger shapes, creating knuckle indentations with a knife.
- Press a sliced almond into the tip of each finger for the nail.
- Bake for 15-20 minutes until set but not browned.
- Once cooled, add “blood” around the nails with red gel food coloring.
Storage & Reheating Tips
Proper Storage for Maximum Freshness
Keeping your spooky Halloween desserts fresh is crucial for both advanced preparation and preserving leftovers. For chocolate-based treats like the spiders and eyeball truffles, store them in an airtight container in the refrigerator for up to one week. Layer them between sheets of parchment paper to prevent sticking. The meringue ghosts are particularly sensitive to moisture, so store them in a completely dry, airtight container at room temperature with a silica gel packet if available. These will stay fresh for 3-5 days if kept dry. Witch finger cookies can be stored in an airtight container at room temperature for up to one week, or frozen for up to three months.
Presenting and Serving Your Spooky Creations
For the best presentation of your Halloween desserts, bring refrigerated treats like the chocolate spiders to room temperature about 20 minutes before serving this allows the chocolate to soften slightly for the best texture and flavor. Create a dramatic display by arranging your spooky food on tiered platters with halloween-themed decorations like artificial cobwebs or mini pumpkins. For parties, consider labeling each treat with spooky names on small cards. If you’ve frozen finger cookies, thaw them overnight in the refrigerator, then bring to room temperature before serving for the best texture.
FOR MORE RECIPES FOLLOW ME IN FACEBOOK ANDPINTEREST
FAQs About Spooky Halloween Desserts
Can I make these desserts ahead of time?
Absolutely! Most of these spooky treats can be made 1-2 days in advance. The chocolate spiders and monster eyeball truffles actually benefit from setting in the refrigerator overnight, allowing flavors to develop. Just store them properly as outlined in the storage section.
How can I modify these recipes for dietary restrictions?
For gluten-free options, substitute the Nabisco Famous Chocolate Wafers with gluten-free chocolate cookies. Vegan versions can be created using plant-based cream cheese and vegan chocolate melting wafers. For dairy-free variations, coconut cream can replace heavy cream in truffle recipes.
What are some tricks for working with chocolate melting wafers?
The key to success with chocolate melting wafers is careful temperature control. Melt them slowly in 30-second microwave intervals, stirring between each interval. If your chocolate becomes too thick, add a teaspoon of vegetable oil to thin it. For precise application, use small piping bags or plastic sandwich bags with the corner snipped off.
How do I prevent my edible eyes from bleeding colors?
To prevent color bleeding when attaching edible eyes to moist surfaces, first let your base dessert develop a slight crust or dry surface. Alternatively, create a small indent where the eyes will go, allowing them to sit securely without sliding around in wet icing or chocolate.
Conclusion
Creating Super Spooky Halloween Desserts is about more than just making treats it’s about crafting memories that will last well beyond the season. These recipes, from chocolate spiders to witch finger cookies, carry the same spirit of creativity and joy that I learned in my grandmother’s kitchen. They remind us that cooking doesn’t need to be perfect to be meaningful. The slight wobble in your spider’s legs or the imperfect shape of your ghost cookies adds character, making each creation uniquely yours.

