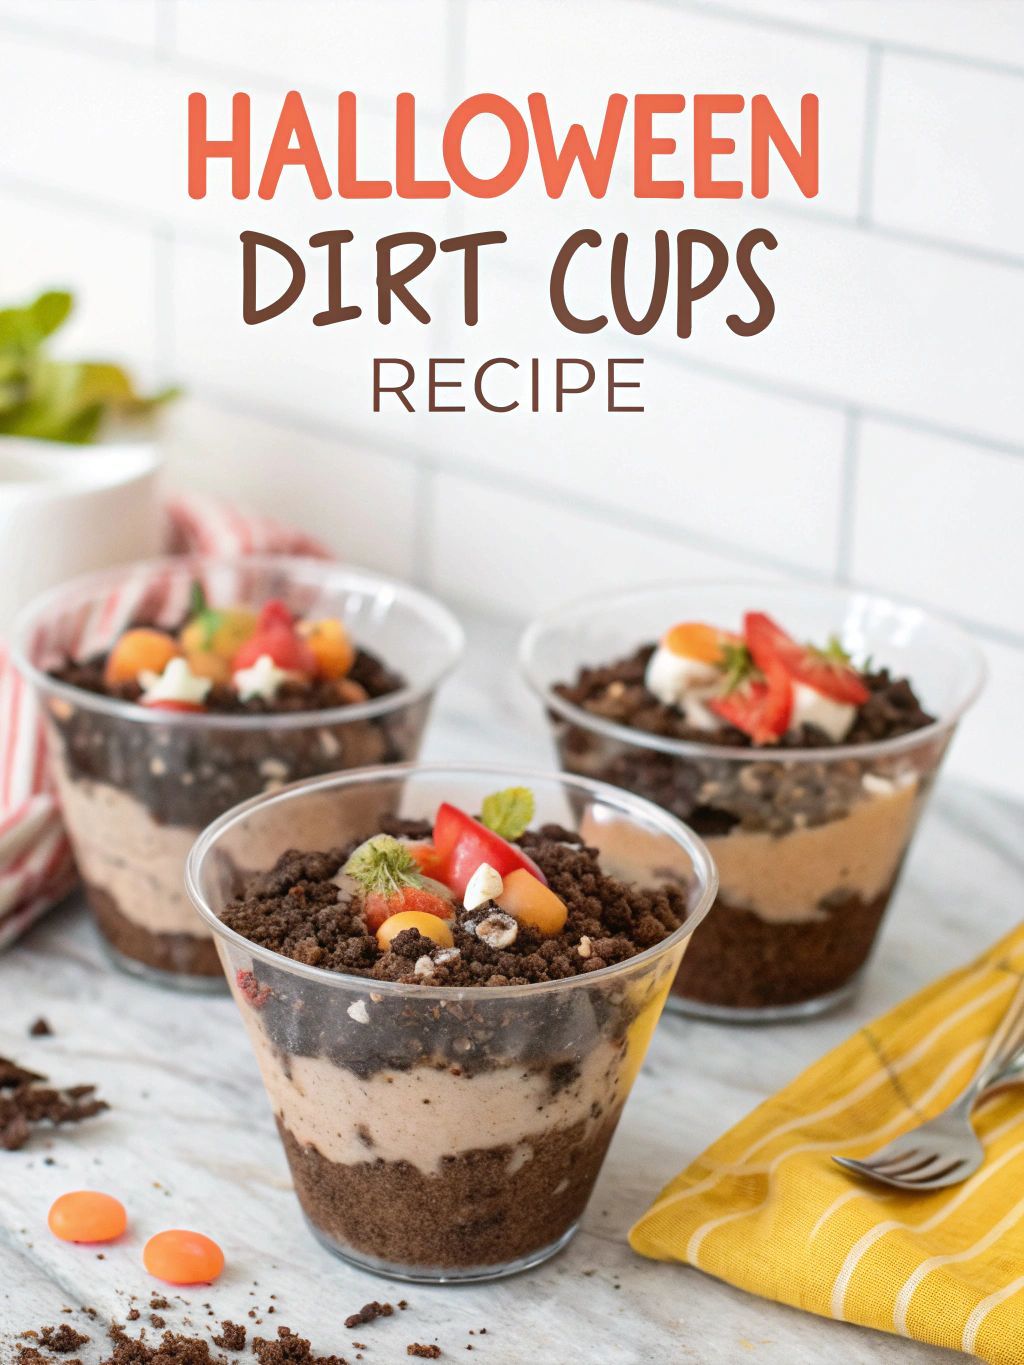
best Halloween Dirt Cups: Spooky Treats Ready in 15 Minutes
Halloween Dirt Cups are the perfect spooky treat for your next Halloween party. These deliciously creepy desserts combine chocolate pudding, crushed cookies, and adorable decorations to create a graveyard-inspired treat that both kids and adults will love. As someone who grew up making these with my grandmother, I’ve perfected this simple recipe that captures both the fun and eerie spirit of Halloween while being incredibly easy to prepare.
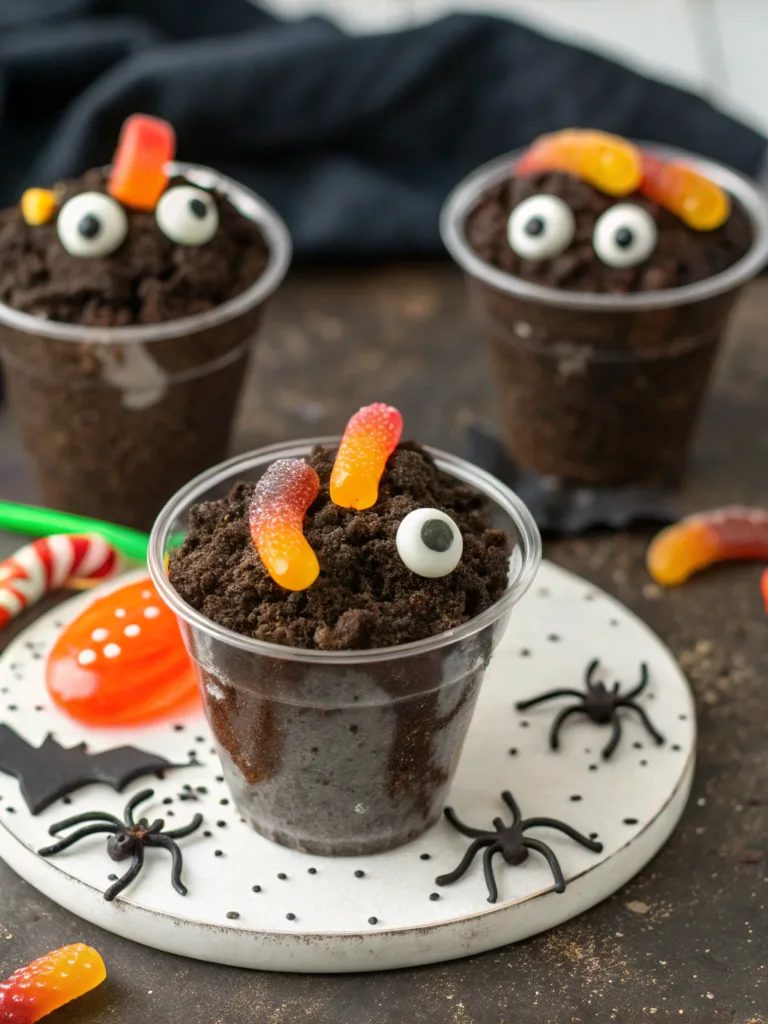
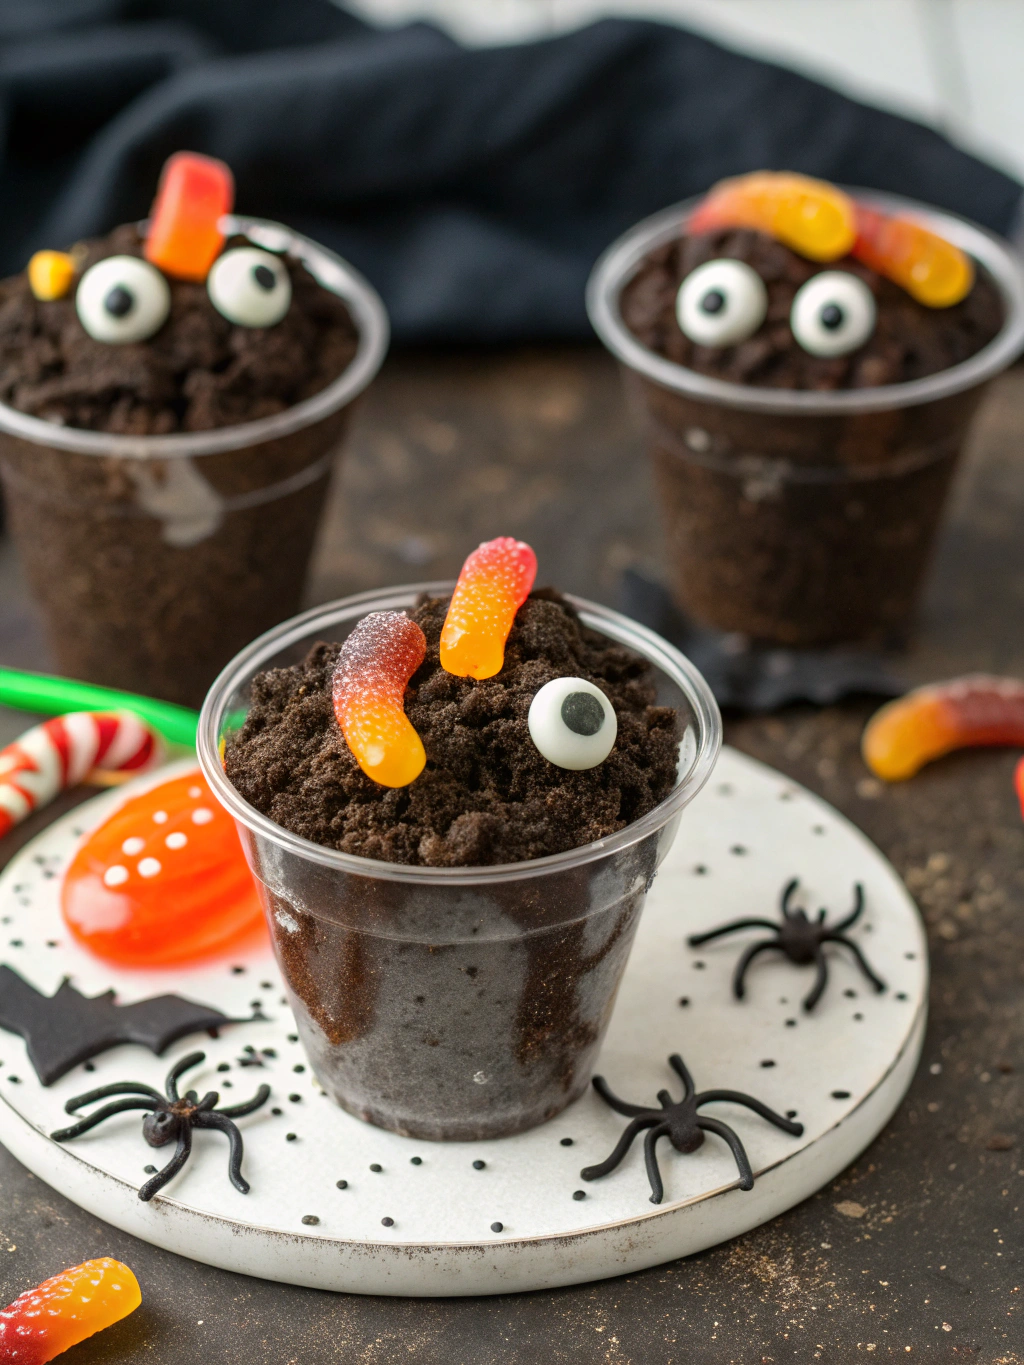
Halloween Dirt Cups
Ingredients
Equipment
Method
- In a large mixing bowl, whisk together the instant chocolate pudding mix and cold milk for about 2 minutes until it begins to thicken.
- Let the pudding set for 5 minutes until fully thickened.
- Gently fold in half of the whipped topping until fully incorporated.
- Place cookies in a bag and crush into crumbs (or pulse in a food processor).
- Begin layering cups: start with pudding mixture, then cookie crumbs, repeating layers and ending with cookie dirt.
- Add gummy worms, tombstone cookies, candy pumpkins, sprinkles, and candy eyeballs on top.
- Optional: Add dollops of whipped topping shaped into ghosts with candy eyes.
Nutrition
Notes
Tried this recipe?
Let us know how it was!in this recipes
Why You’ll Love These Halloween Dirt Cups
Perfect for Halloween Parties
These spooky dirt cups are guaranteed to be a hit at any Halloween gathering. They’re individually portioned, making them ideal for serving at parties where guests can simply grab and enjoy. The visual appeal of these treats with their cookie “dirt” and emerging gummy worms creates that perfect Halloween aesthetic that photographs beautifully for social media too. Even better, you can prepare them ahead of time, allowing you to focus on other aspects of your Halloween celebration.
Kid-Friendly Creation
One of the best aspects of these Halloween dirt cake cups is how incredibly kid-friendly they are to make. Children absolutely love helping crush the cookies, layering the ingredients, and especially adding the decorative elements like gummy worms and candy pumpkins. It’s a wonderful activity that gets everyone involved in the Halloween spirit while creating memories in the kitchen just like I used to do with my grandmother. The recipe is forgiving enough that little hands can help without worry about precision.
Ingredients for Halloween Dirt Cups
For the Base:
- 1 package (3.9 oz) instant chocolate pudding mix
- 2 cups cold milk
- 1 (8 oz) container whipped topping, thawed
- 1 package chocolate sandwich cookies (like Oreos), crushed into “dirt”
- 10-12 clear plastic cups or mason jars
For Decorations:
- Gummy worms
- Milano cookies or graham crackers (for tombstones)
- Black edible marker (for writing on tombstones)
- Candy pumpkins
- Green-tinted coconut (optional, for “moss”)
- Candy eyeballs
- Halloween sprinkles
How to Make Halloween Dirt Cups
Preparing the Pudding Mixture
- In a large mixing bowl, whisk together the instant chocolate pudding mix and cold milk for about 2 minutes until it begins to thicken.
- Let the pudding set for 5 minutes until it’s fully thickened.
- Gently fold in half of the whipped topping until fully incorporated, creating a lighter, creamier pudding mixture.
- Set aside while you prepare the cookie “dirt.”
Creating the “Dirt” and Assembling
- Place chocolate sandwich cookies in a sealed plastic bag and crush them using a rolling pin until they resemble dirt (or pulse in a food processor for a few seconds).
- Take your clear cups and begin layering: Start with a layer of pudding mixture (about 2 tablespoons).
- Add a layer of crushed cookie “dirt” on top of the pudding.
- Continue alternating layers, ending with cookie dirt on top.
- For the decorations: Insert gummy worms so they appear to be crawling out of the dirt.
- Create tombstones by writing “RIP” on Milano cookies or graham crackers using an edible marker, then insert them into the dirt.
- Add candy pumpkins, sprinkles, and candy eyeballs for extra spooky effect.
- For an even more ghoulish look, add a dollop of whipped topping on some cups and shape into ghosts with candy eyes.
Variations to Try
Ghost-Themed Halloween Dessert Option
For a ghost-themed variation, use more whipped topping to create ghost shapes on top of your dirt cups. Simply place a generous dollop on top of the finished cup and use a spoon to shape it into a ghost form with a pointed top. Add two mini chocolate chips or candy eyeballs for the eyes and your ghost is complete! This variation of the classic dirt cups recipe transforms it into an even more Halloween-appropriate treat.
S’mores Dirt Cup Version
Craving a twist on the traditional dirt cups? Try my Halloween S’mores Dirt Cups variation. Begin with the same chocolate pudding base, but instead of cookie crumbs, use crushed graham crackers mixed with a small amount of crushed chocolate cookies. Layer as usual, then top with mini marshmallows. Just before serving, use a kitchen torch to lightly toast the marshmallows for that authentic s’mores experience with a Halloween twist. The combination creates a deliciously different fun Halloween dessert that still maintains the spooky dirt cup aesthetic.
Storage & Reheating Tips
How to Store Leftover Dirt Cups
If you have leftover Halloween party treats (which is rare in my experience!), these dirt cups store beautifully in the refrigerator. Simply cover each cup with plastic wrap or, if you used mason jars, secure with their lids. They’ll stay fresh for up to 3 days, though the cookie layer may soften slightly over time. For best results, I recommend adding any delicate decorations like tombstones just before serving if you’re planning to store them.
Make-Ahead Options
These spooky dirt cups are perfect for preparing ahead of your Halloween festivities. You can make them up to 24 hours in advance, which is ideal for reducing day-of party stress. If making ahead, assemble the pudding and cookie layers completely, but store any decorative elements separately and add them shortly before serving. This ensures everything looks fresh and perfectly spooky when your guests arrive for your Halloween celebration.
FAQs About Halloween Dirt Cups
Can I make these dirt cups dairy-free?
Yes! Use dairy-free pudding mix, dairy-free milk (almond or oat work well), and dairy-free whipped topping. Check that your cookies are dairy-free as well.
How can I make these dirt cups look more spooky?
For extra spookiness, add a layer of green-tinted coconut “moss,” use red gel for “blood” drips on the tombstones, or incorporate plastic spider rings partially buried in the dirt.
Can I use homemade pudding instead of instant?
Absolutely! Homemade chocolate pudding works wonderfully in this recipe and adds a more sophisticated flavor for adult palates.
How far in advance can I make dirt cups for a party?
For best results, prepare them no more than 24 hours in advance, keeping refrigerated until serving.
Can I make a large dirt cake instead of individual cups?
Yes! Use the same ingredients but layer them in a 9×13 baking dish or a decorative bowl for a communal dirt cake experience.
FOR MORE RECIPES FOLLOW ME IN FACEBOOK AND PINTEREST
Conclusion
Halloween Dirt Cups are more than just a simple dessert they’re a festive tradition that brings the Halloween spirit to your table with minimal effort. The combination of creamy chocolate pudding, crunchy cookie “dirt,” and playful decorations creates a dessert that’s as fun to make as it is to eat. Whether you’re preparing treats for a classroom party, a family gathering, or just a special Halloween night at home, these dirt cups are guaranteed to delight everyone.

