Easy Halloween Oreo Balls : Spooky Treats Perfect for Kids’ Parties 2026
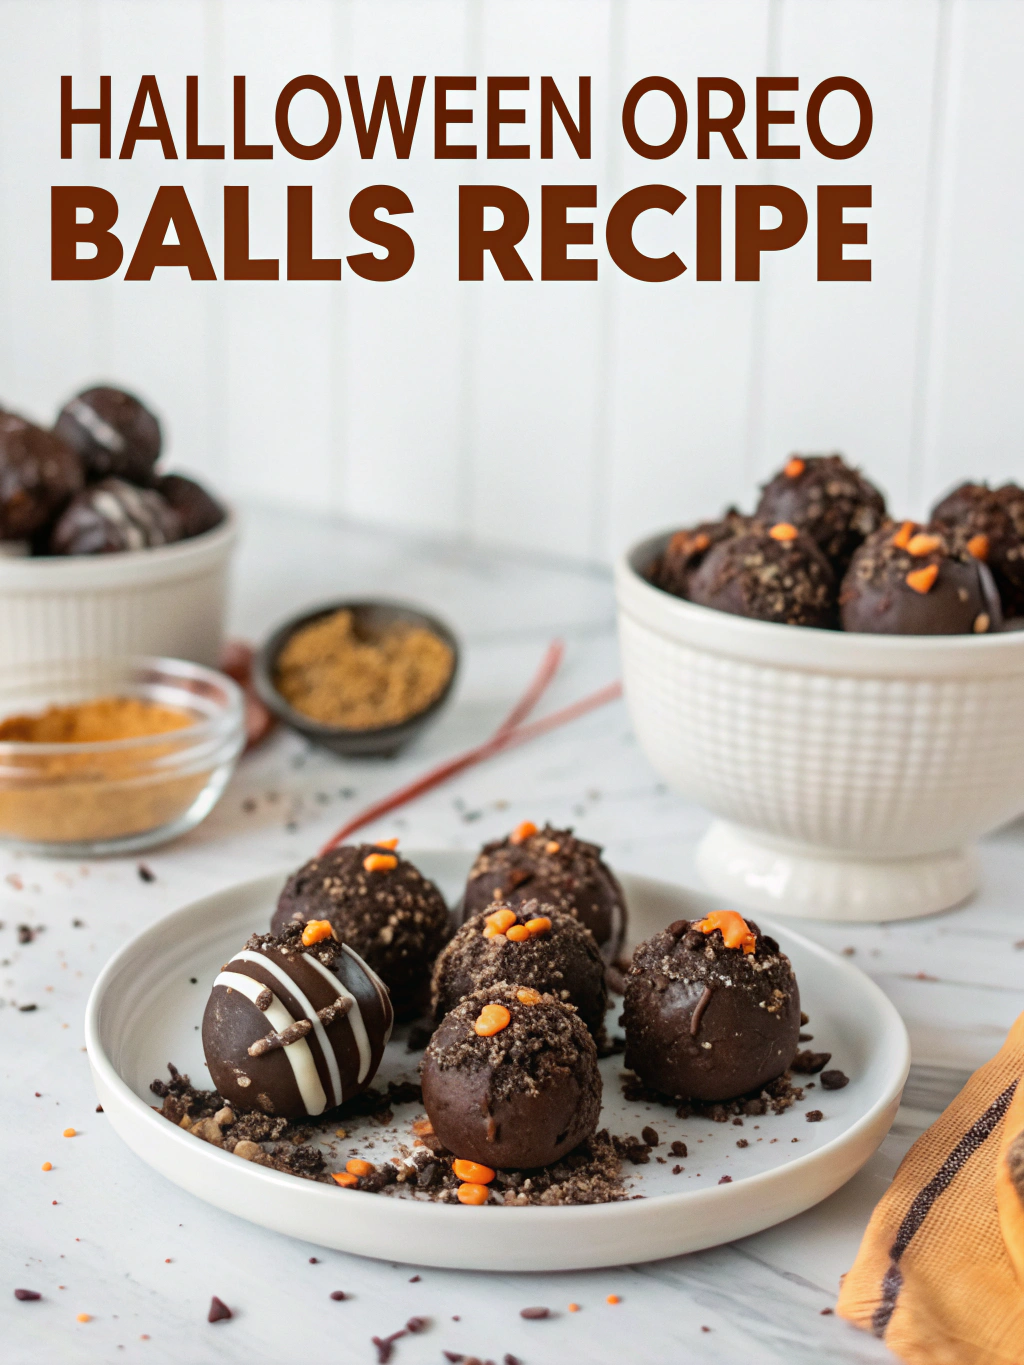
Halloween Oreo Balls are the perfect no-bake treat that combines the beloved flavor of Oreo cookies with festive Halloween decorations. These bite-sized delights require minimal ingredients but deliver maximum impact at any Halloween gathering. Whether you’re planning a classroom party, office celebration, or family Halloween night, these adorable and delicious treats will be the star of your spread. With their creamy chocolate interior and festive decorations, Halloween Oreo Balls are sure to delight both kids and adults alike. The best part? They’re incredibly simple to make, even if you’re not particularly crafty in the kitchen.
Halloween Oreo Balls
Ingredients
Equipment
Method
- Place Oreos in a food processor and pulse into fine crumbs.
- Add softened cream cheese and blend until a uniform dough forms.
- Chill mixture in the refrigerator for 30 minutes to firm.
- Scoop 1 tablespoon portions and roll into smooth balls.
- Place balls on parchment-lined baking sheet and chill 1 hour or freeze 30 minutes.
- Melt white and milk/dark chocolate wafers separately.
- Tint portions of white chocolate with orange, green, or purple food coloring if desired.
- Dip chilled balls into melted chocolate, letting excess drip off, then place back on parchment.
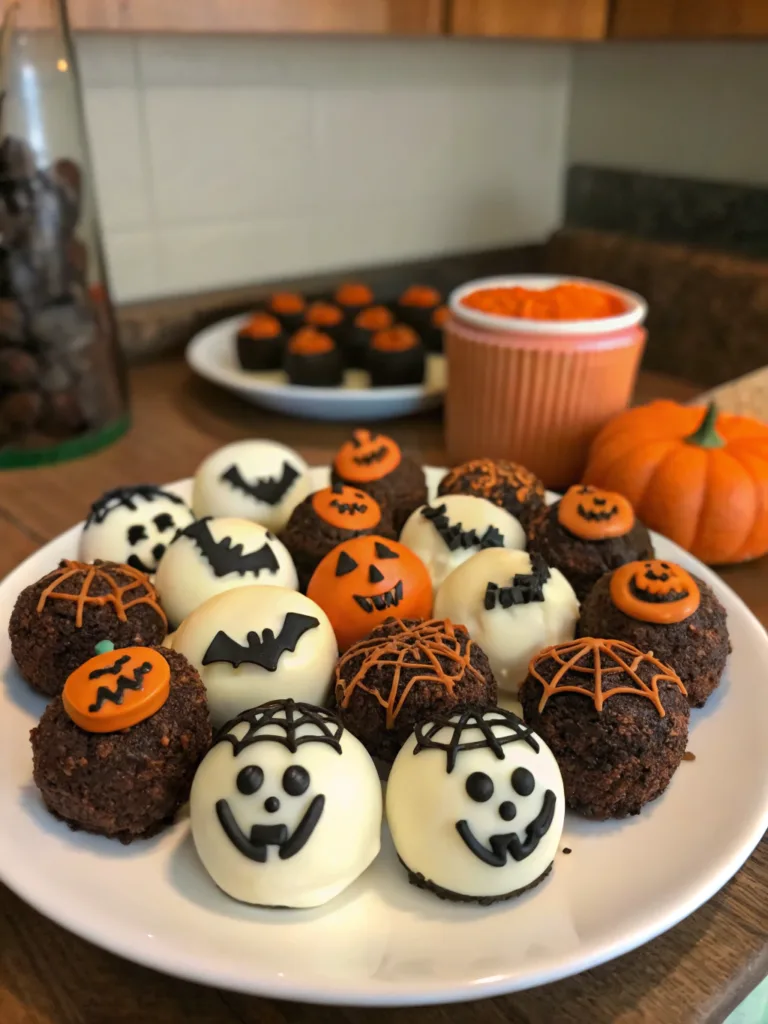
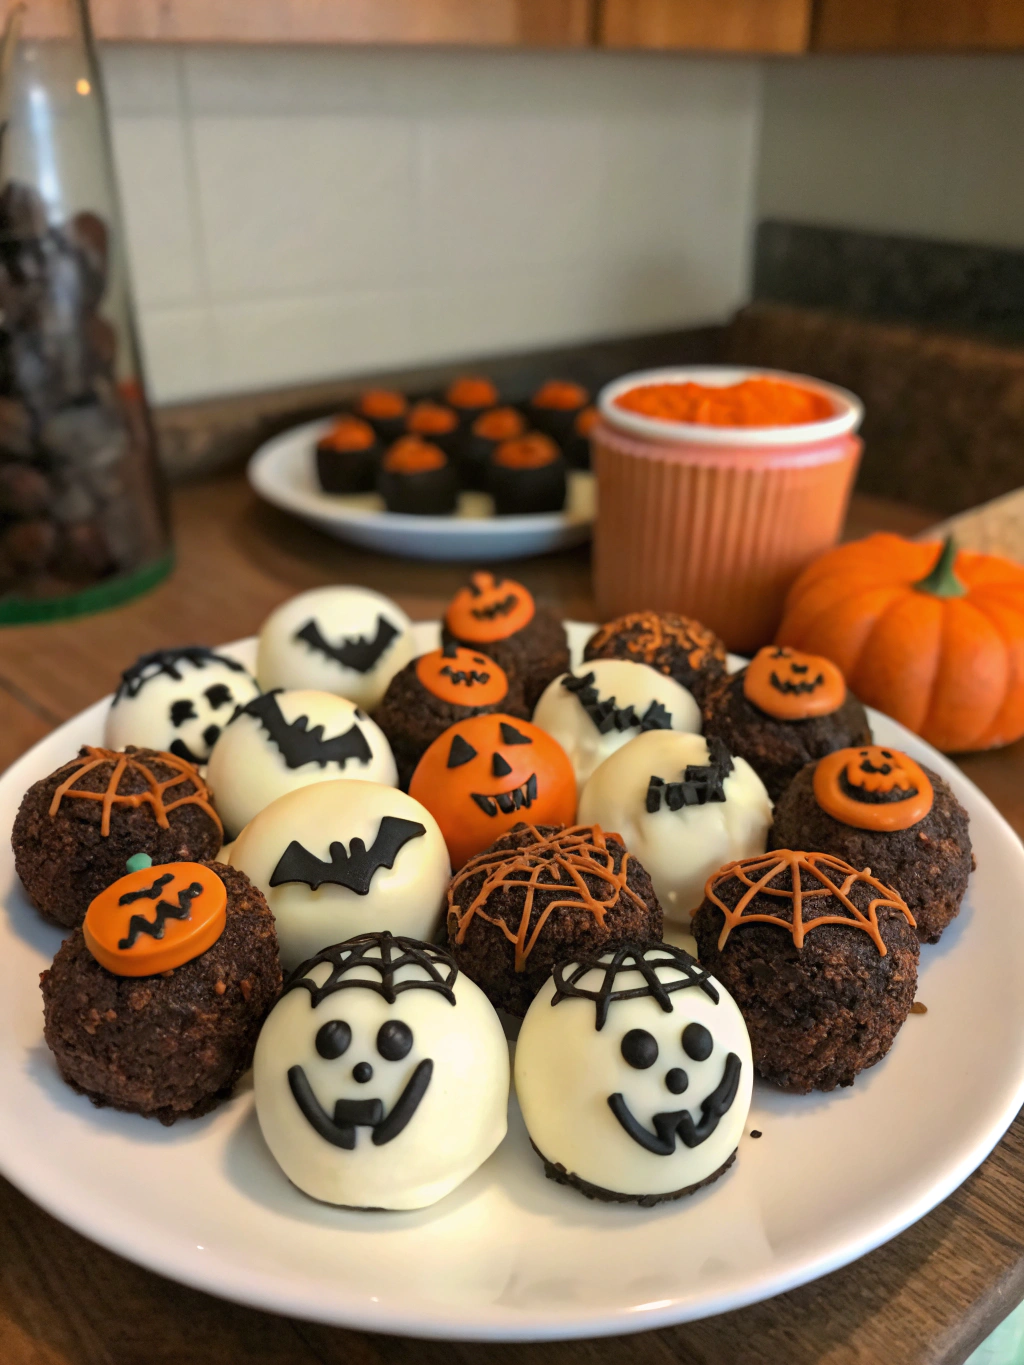
- Decorate: make ghosts with white chocolate + dark chocolate faces, pumpkins with orange coating + pretzel stems, spiders with dark chocolate + pretzel legs, or monsters with tinted coatings and candy eyes.
Nutrition
Notes
Tried this recipe?
Let us know how it was!in this recipes
Why You’ll Love These Halloween Oreo Balls
Perfect for Any Halloween Gathering
These Halloween treats made with Oreos are incredibly versatile. They’re small enough to serve as finger food at a Halloween party and cute enough to impress guests of all ages. Pack them in lunch boxes as a special October surprise, arrange them on a festive platter for Halloween work food ideas, or package them as take-home treats for school parties. Their bite-sized nature makes them perfect for grazing tables where guests can sample various Halloween party food ideas without committing to a large dessert.
Customizable for Any Spooky Theme
One of the greatest things about these Halloween cake balls is how easily they can be customized. Whether you want to create cute and easy Halloween treats like ghosts and pumpkins, or prefer something more elaborate like spiders and monsters, the decoration possibilities are endless. You can match them to your party theme or create an assortment of different designs. The simple white chocolate coating provides the perfect canvas for your Halloween creativity, making these Halloween balls a standout on any dessert table.
Ingredients for Halloween Oreo Balls
For the Oreo Balls:
- 36 regular Oreo cookies (1 standard package)
- 8 ounces cream cheese, softened
- 16 ounces white chocolate melting wafers
- 8 ounces milk or dark chocolate melting wafers
For Decorating:
- Orange food coloring (gel works best)
- Black food coloring or black candy melts
- Edible eyes
- Halloween sprinkles
- Small pretzel sticks (for spider legs)
- Green and purple food coloring (optional for variety)
- Mini M&Ms or Reese’s Pieces (for additional decorations)
How to Make Halloween Oreo Balls
Preparing the Oreo Mixture
- Place the Oreo cookies (filling and all) in a food processor and pulse until they form fine crumbs.
- Add the softened cream cheese to the food processor and pulse until the mixture is completely combined and forms a moist, uniform dough.
- Transfer the mixture to a bowl and refrigerate for 30 minutes to firm up slightly, making it easier to roll.
- Line a large baking sheet with parchment paper.
Forming and Chilling the Balls
- Remove the chilled mixture from the refrigerator and scoop approximately 1 tablespoon of the mixture for each ball.
- Roll between your palms to form smooth, even balls about 1-inch in diameter.
- Place the rolled balls on the prepared baking sheet, leaving space between each one.
- Refrigerate the balls for at least 1 hour or freeze for 30 minutes until they’re firm to the touch.
Decorating Your Halloween Treats
- Melt the white chocolate wafers according to package instructions in a microwave-safe bowl.
- Divide the melted white chocolate into portions if you plan to create different colored coatings (orange for pumpkins, white for ghosts, etc.).
- Add food coloring to each portion as desired and stir until completely combined.
- Using a fork or dipping tool, dip each chilled Oreo ball into the melted chocolate, allowing excess to drip off.
- Place the dipped balls back on the parchment paper.
Creating Specific Halloween Designs
For Ghost Oreo Balls:
- Dip balls in plain white chocolate and allow to set slightly.
- Use melted dark chocolate in a piping bag to add eyes and mouth.
For Pumpkin Oreo Balls:
- Dip balls in orange-tinted white chocolate.
- Before the coating sets completely, add a small pretzel piece on top as a stem.
- Use melted dark chocolate to pipe jack-o-lantern faces.
For Spider Oreo Balls:
- Dip balls in dark chocolate.
- While still wet, add edible eyes.
- Insert small pretzel sticks around the sides as legs.
For Monster Oreo Balls:
- Dip balls in green or purple tinted white chocolate.
- Add edible eyes and use colorful sprinkles for hair or other features.
Storage & Reheating Tips
How to Store Your Halloween Oreo Balls
These Halloween Oreo balls can be stored in an airtight container in the refrigerator for up to one week. For the best texture and flavor, place wax paper between layers to prevent sticking. If you’re making these Halloween desserts for kids’ parties in advance, you can also freeze the undecorated balls for up to three months. Simply thaw in the refrigerator overnight before dipping and decorating.
Serving Recommendations
For the best taste experience, remove the Oreo balls from the refrigerator about 15-20 minutes before serving. This allows them to come to a slightly warmer temperature where the flavors are more pronounced and the texture is creamier. If you’re arranging these easy Halloween treats on a platter, consider adding some themed decorations around them like plastic spiders, fake cobwebs, or candy corn to enhance the Halloween presentation.
FAQs About Halloween Oreo Balls
Can I use different flavors of Oreos?
Absolutely! While traditional Oreos create a classic flavor, you can experiment with seasonal flavors like pumpkin spice, mint, or even the Halloween-colored Oreos for a different twist on these Halloween party treats for kids’ school events.
Why are my Oreo balls too sticky to roll?
If your mixture is too sticky, it likely needs more time in the refrigerator. Chill the mixture for another 30 minutes, or add a few more crushed Oreos to achieve a firmer consistency.
Can I make these ahead of time for a Halloween party?
Yes! These are perfect make-ahead Halloween party food ideas. You can prepare the balls up to three days in advance and store them in the refrigerator, or freeze the undecorated balls for even longer storage.
What if I don’t have food coloring?
If you don’t have food coloring, you can still create festive Halloween balls by using colored candy melts instead of tinted white chocolate. Alternatively, focus on decorations like sprinkles and edible eyes rather than colored coatings.
How can I prevent the chocolate from cracking?
Allow your Oreo balls to come to room temperature for about 5-10 minutes before dipping them in the melted chocolate. The extreme temperature difference between frozen balls and hot chocolate can cause cracking as the coating sets.
FOR MORE RECIPES FOLLOW ME IN FACEBOOK AND PINTEREST
Conclusion: Impress Everyone With These Halloween Oreo Balls
Halloween Oreo Balls are more than just another treat they’re a creative expression of Halloween fun that brings people together. Whether you’re making them for a classroom of excited children, bringing them to work, or serving them at a family gathering, these bite-sized delights are guaranteed to impress. The combination of creamy Oreo filling, rich chocolate coating, and playful decorations makes these Halloween desserts for kids an irresistible addition to your holiday celebration.

