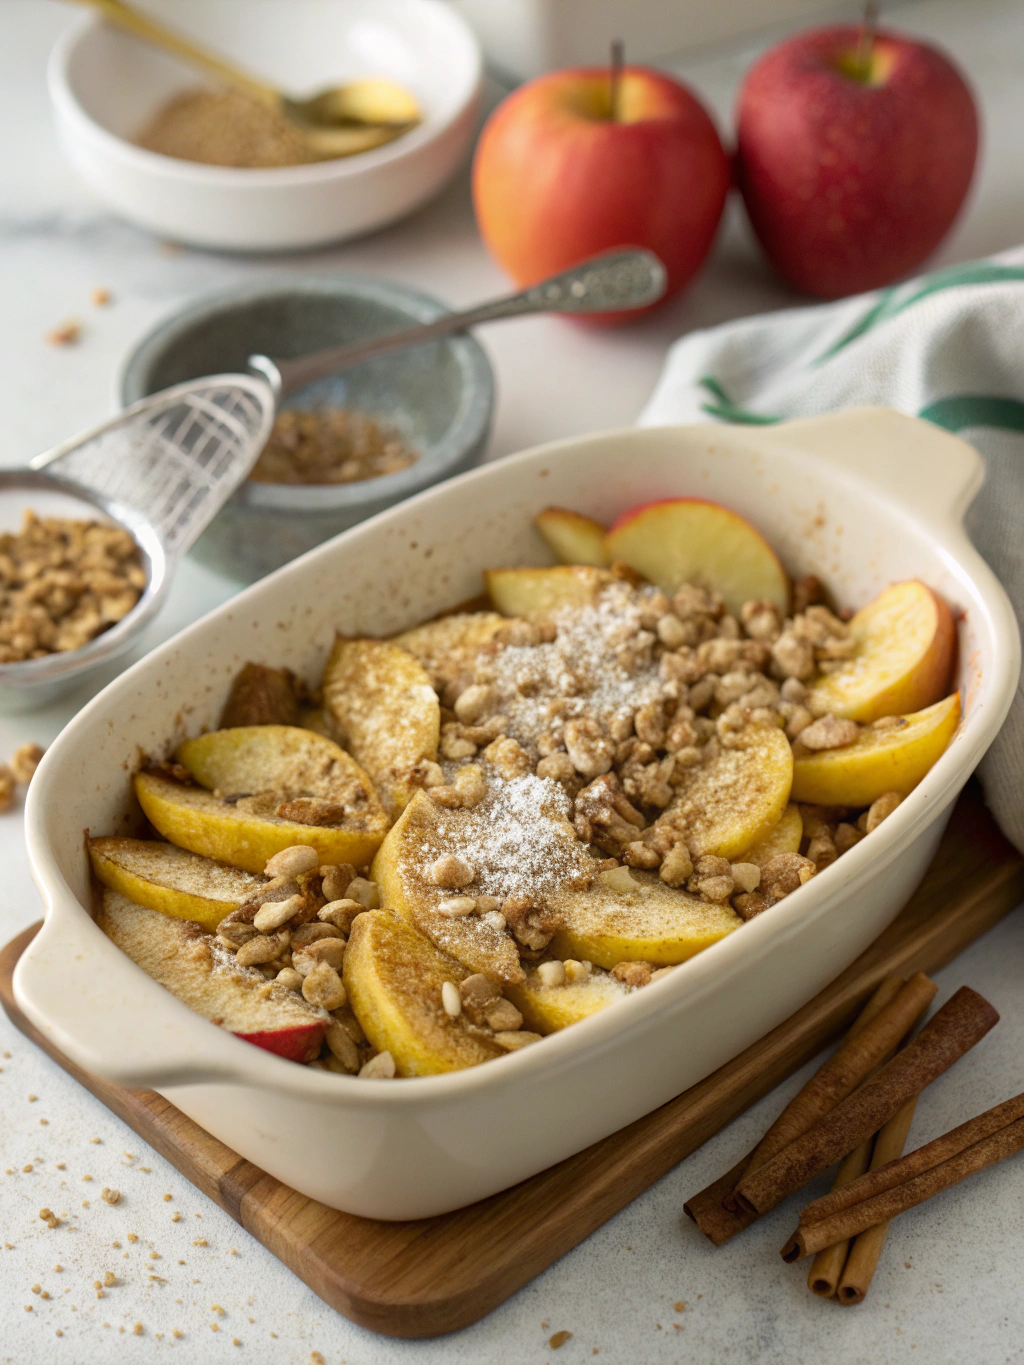
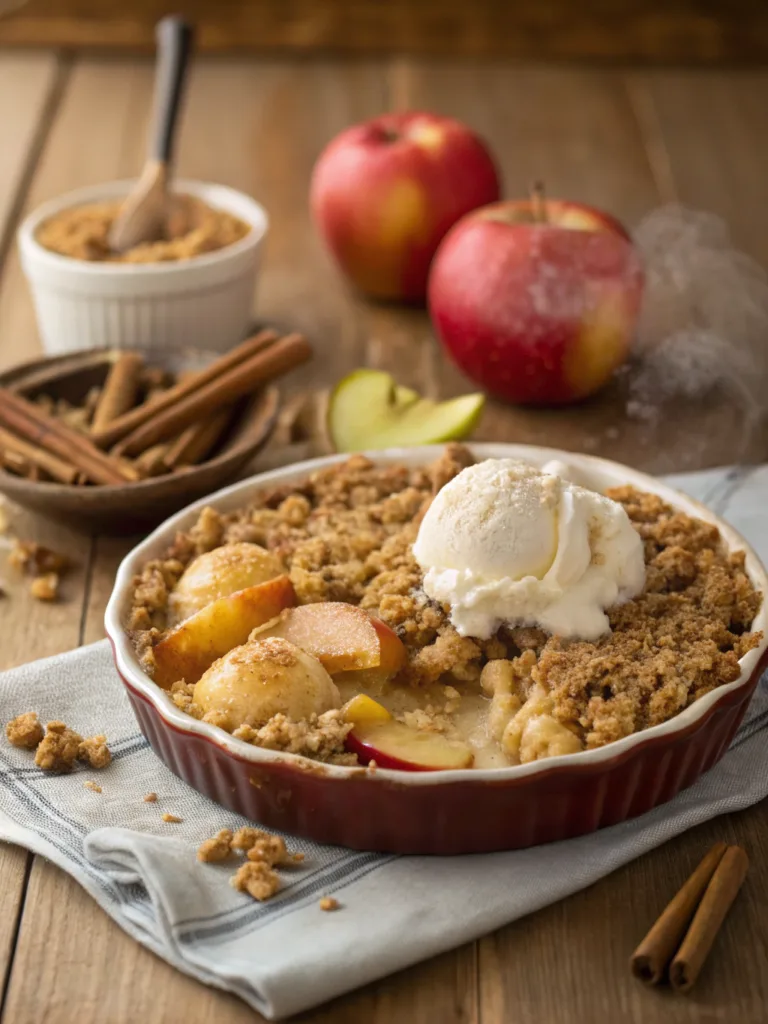
Easy Apple Crisp Recipe: Perfect Fall Dessert Ready in 30 Minutes
This Easy Apple Crisp Recipe brings together tender cinnamon-spiced apples and a buttery oat topping for a dessert that’s both comforting and impressive. When autumn arrives and apple season begins, there’s nothing quite like the aroma of this simple apple dessert baking in the oven. Unlike complicated apple pies with fussy crusts, this homemade apple crisp easy recipe comes together in minutes but delivers all the fall flavors you crave. Whether you’re a seasoned baker or a novice in the kitchen, this quick apple crisp is guaranteed to become a family favorite.
Why You’ll Love This Easy Apple Crisp Recipe
There’s something magical about the combination of warm, tender apples and crispy, buttery topping that makes apple crisp irresistible. This recipe is one I’ve perfected over years of Sunday family dinners, and it never fails to bring smiles to the table. When exploring different apple dessert recipes, I’ve found that simplicity often yields the most delicious results.
Simple Ingredients and Quick Preparation
One of the greatest joys of this simple apple crisp recipe is how quickly it comes together. Unlike more complex desserts that require special equipment or techniques, this apple crisp topping recipe uses basic pantry staples you likely already have on hand. The entire dessert can be assembled in about 15 minutes and bakes in just 30-35 minutes, making it perfect for weeknight desserts or last-minute entertaining. Even better, your kitchen will be filled with the most amazing cinnamon-apple aroma as it bakes, building anticipation for the delicious treat to come.
Versatility and Customization Options
What makes this best apple crisp recipe ever so wonderful is how easily it adapts to your preferences. While traditional recipes call for Granny Smith apples, you can experiment with Honeycrisp, Braeburn, or a mixture of your favorite varieties. The versatility of fruit crisps means you can adjust the sweetness, add nuts to the topping, or even incorporate other fall fruits like pears. For those who love to experiment, try adding a handful of fresh cranberries or a sprinkle of crystallized ginger to the filling for an unexpected twist on the classic.
Ingredients for the Perfect Apple Crisp
The beauty of this apple crumble recipe easy approach is in its simplicity. With just a handful of ingredients, you’ll create a dessert that tastes like it came from a professional bakery. Let’s break down what you’ll need for both the filling and that irresistible topping.
Apple Filling Ingredients
- 6 medium apples (about 2 pounds), peeled, cored and sliced
- ½ cup granulated sugar
- 1 tablespoon fresh lemon juice
- 2 tablespoons all-purpose flour
- 1 teaspoon ground cinnamon
- ¼ teaspoon ground nutmeg
- Pinch of salt
Crisp Topping Ingredients
- 1 cup old-fashioned rolled oats
- ¾ cup all-purpose flour
- ¾ cup packed brown sugar
- ½ teaspoon ground cinnamon
- ¼ teaspoon salt
- ½ cup cold unsalted butter, cubed
- Optional: ½ cup chopped nuts (pecans or walnuts work beautifully)
When selecting apples for your easy apple desserts, look for varieties that hold their shape when baked. Granny Smith provides tartness that balances the sweet topping, while Honeycrisp offers a perfect sweet-tart balance. For the richest flavor, try combining multiple apple varieties in a single crisp.
How to Make Easy Apple Crisp
Creating this fall apple crisp is straightforward and requires minimal kitchen skills, making it perfect for beginners and experienced bakers alike. Follow these simple steps for dessert perfection.
Step 1: Prepare Your Baking Dish and Oven
- Preheat your oven to 375°F (190°C)
- Lightly grease a 9×9-inch baking dish or 2-quart casserole
- Gather all ingredients and measuring tools
Step 2: Prepare the Apple Filling
- Peel, core, and slice the apples into ¼-inch thick slices
- In a large bowl, toss the apples with lemon juice
- Add sugar, flour, cinnamon, nutmeg, and salt, tossing until evenly coated
- Transfer the apple mixture to your prepared baking dish, spreading evenly
Step 3: Make the Crisp Topping
- In a medium bowl, combine oats, flour, brown sugar, cinnamon, and salt
- Add cold butter cubes and use a pastry cutter or your fingers to work the mixture until it resembles coarse crumbs with some pea-sized pieces remaining
- If using nuts, fold them in now
- Sprinkle the topping evenly over the apples, covering completely
Step 4: Bake and Serve
- Bake for 30-35 minutes until the topping is golden brown and the filling is bubbling around the edges
- Allow to cool for 10-15 minutes before serving
- For the ultimate experience, serve warm with a scoop of vanilla ice cream or a dollop of whipped cream
If you’re looking for an even faster option, you might consider trying apple crisp with canned apple filling. While fresh apples provide the best flavor, canned filling can be a time-saving alternative when you’re in a hurry.
Storage & Reheating Tips
One of the many virtues of this easy apple crisp recipe is how well it stores and reheats, making it perfect for advance preparation or enjoying leftovers.
How to Store Leftover Apple Crisp
Once your apple crisp has cooled completely, cover it tightly with plastic wrap or transfer leftovers to an airtight container. Stored in the refrigerator, it will maintain its quality for up to 4 days. The topping may soften slightly over time as it absorbs moisture from the filling, but the flavor remains delicious. For longer storage, you can freeze apple crisp for up to 3 months. Wrap it tightly in plastic wrap, then aluminum foil, to prevent freezer burn. When you’re ready to enjoy it, thaw overnight in the refrigerator before reheating.
Best Methods for Reheating
To restore that freshly-baked quality to your apple crisp, reheating is key. For individual servings, microwave for 30-45 seconds until warmed through. However, for the best results that recapture the contrast between the tender apples and crispy topping, use your oven. Place the refrigerated crisp in a 350°F oven for about 15 minutes. If reheating from frozen, extend the baking time to 20-25 minutes. To prevent over-browning, cover loosely with foil for the first part of reheating. The basics of reheating baked goods apply perfectly to this dessert.
FOR MORE RECIPES FOLLOW ME IN PINTEREST
FAQs
Frequently Asked Questions
Can I make apple crisp ahead of time?
Absolutely! You can prepare the apple filling and topping separately up to 24 hours in advance. Store them in separate containers in the refrigerator, then assemble and bake when ready. Alternatively, assemble the entire dish, cover, refrigerate, and bake within 24 hours.
What’s the difference between apple crisp and apple crumble?
While the terms are often used interchangeably in the US, traditionally, a crisp contains oats in the topping, while a crumble doesn’t. Both are delicious variations on the same theme of fruit with a streusel-like topping.
Can I make this recipe gluten-free?
Yes! Simply substitute the all-purpose flour with your favorite gluten-free flour blend and ensure your oats are certified gluten-free. The result will be just as delicious.
How do I know when my apple crisp is done?
Look for a golden brown topping and bubbling around the edges of the filling. If you insert a knife into the apples, they should feel tender but not mushy.


