10 No-Bake Halloween Treats That Will Dazzle Your Party Guests
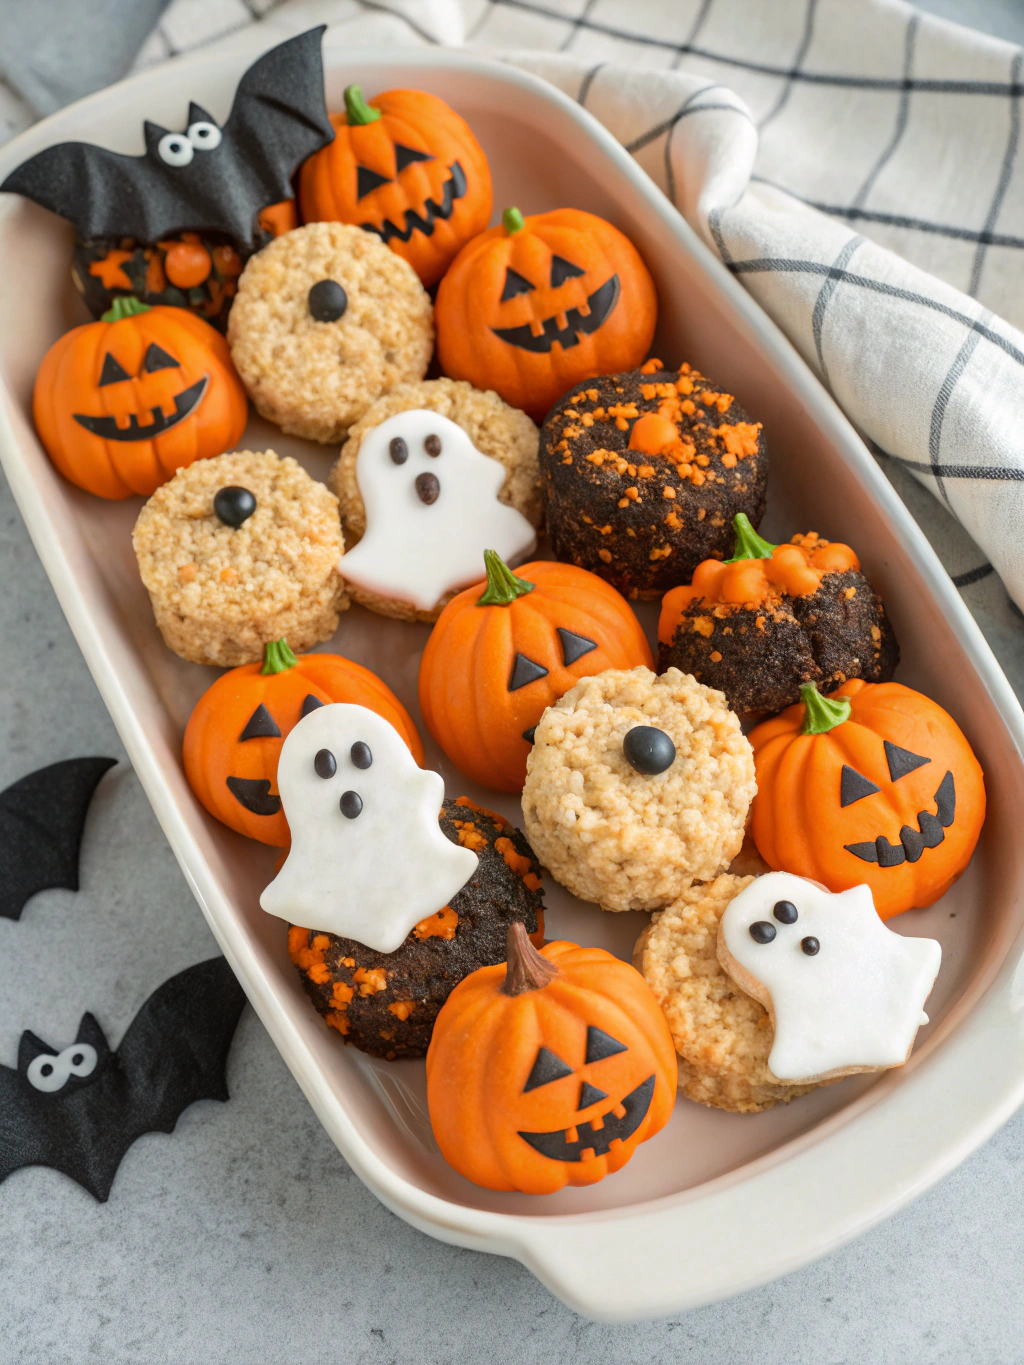
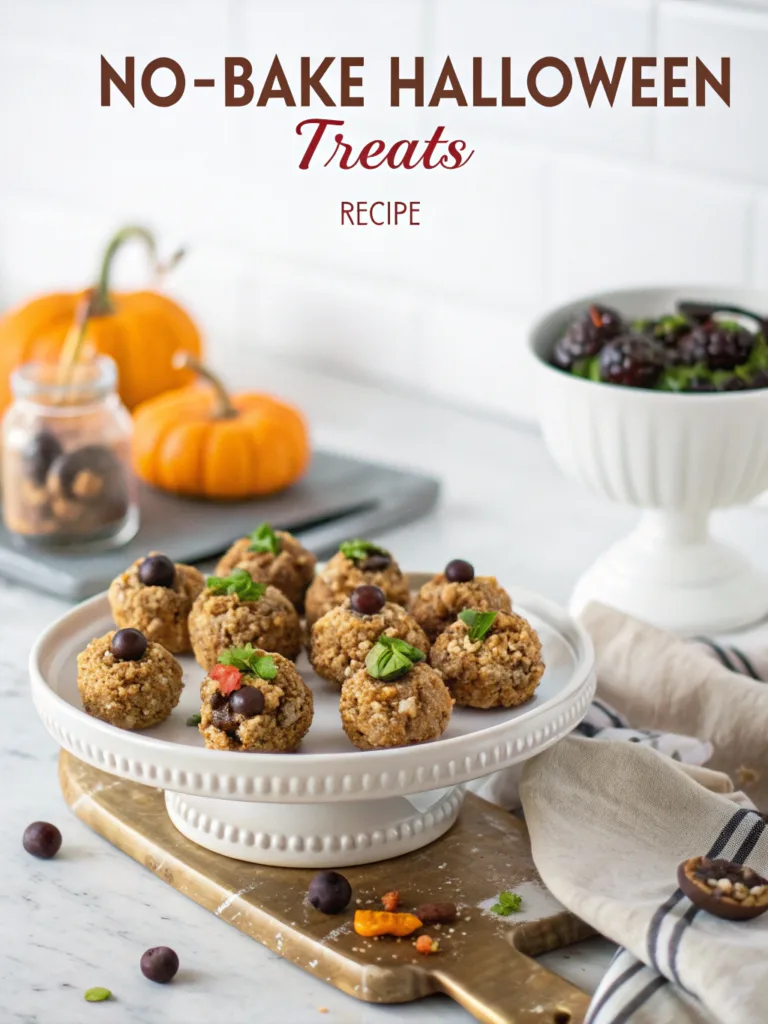
No-bake Halloween treats are the perfect solution when you need quick, easy, and frightfully delicious options for your Halloween celebration. Whether you’re planning a school party, need kid-friendly desserts, or want to whip up something spooky without turning on the oven, these recipes deliver maximum scare factor with minimum effort. As someone who learned to cook in my grandmother’s kitchen, I’ve always believed that the best treats are those made with love and creativity – not necessarily complicated techniques. These simple Halloween treats for kids capture the spirit of the season while being accessible to cooks of all skill levels.
Why You’ll Love These No-Bake Halloween Treats
Perfect for Busy Halloween Celebrations
Halloween is already hectic enough with costume preparations, decoration planning, and event coordination. The last thing you need is complicated recipes that take hours to prepare. These no-bake options save valuable time while still delivering that “wow” factor. They’re ideal Halloween finger food desserts that guests can grab between activities, and they work perfectly as Halloween snacks for school parties where kitchen access might be limited. Even on your busiest day, you can create memorable treats that everyone will love.
Kid-Friendly Preparation
One of the greatest joys of Halloween is seeing children’s excitement as they participate in seasonal activities. These recipes double as easy Halloween baking for kids, though technically there’s no baking involved! Children can help mix, decorate, and assemble these treats, making preparation a fun family activity. The simple techniques used in these recipes teach basic cooking skills while creating lasting memories. My grandmother always said cooking together builds connection, and these kid-friendly Halloween desserts provide the perfect opportunity for family bonding during the spooky season.
Ingredients You’ll Need
- Graham crackers, chocolate cookies, or vanilla wafers (for bases)
- Marshmallows (regular and mini sizes)
- Chocolate chips (white, milk, and dark varieties)
- Candy melts in Halloween colors (orange, black, green, purple)
- Peanut butter or cookie butter
- Cream cheese (for some recipes)
- Pretzel sticks and rods
- Candy eyes (various sizes)
- Food coloring (gel works best)
- Halloween sprinkles and edible decorations
- Candy corn, M&Ms, and other small candies
- Oreo cookies (regular and mini)
- Rice Krispies cereal
- Fruit roll-ups (for “bloody” decorations)
- Coconut flakes (for “hair” or “cobwebs”)
How to Make No-Bake Halloween Treats
Monster Cookie Pops
- Place Oreo cookies in a food processor and blend until fine crumbs form
- Mix cookie crumbs with 8oz softened cream cheese until well combined
- Form mixture into 1-inch balls and insert lollipop sticks
- Refrigerate for 30 minutes until firm
- Melt green candy melts according to package directions
- Dip each cookie ball into melted candy, tapping off excess
- Add candy eyes and decorative sprinkles before the coating sets
- Stand pops upright in a foam block to dry completely
Spooky Spider Cookies
- Spread peanut butter on round chocolate cookies
- Break pretzel sticks in half and arrange eight pieces around the cookie as “legs”
- Place two candy eyes on the front of the “spider”
- For extra detail, add small dots of melted chocolate for the mouth and fangs
- Refrigerate for 15 minutes to set
Ghostly Banana Pops
- Peel bananas and cut in half crosswise
- Insert popsicle sticks into cut ends
- Freeze bananas for at least 2 hours until solid
- Melt white chocolate or white candy melts
- Dip frozen bananas into melted white chocolate, covering completely
- Add chocolate chips or mini chocolate chips for eyes and mouth
- Return to freezer until ready to serve
Mummy Rice Krispie Treats
- Prepare standard Rice Krispie treats and cut into rectangles
- Melt white chocolate or white candy melts
- Drizzle white chocolate across treats in random “bandage” patterns
- Add candy eyes before the chocolate sets
- Let set at room temperature for 30 minutes
Witches’ Broomsticks
- Insert pretzel sticks into the bottom of mini Reese’s cups or similar shaped chocolates
- Melt chocolate that matches your pretzel sticks
- Dip the bottom portion of the pretzel in melted chocolate
- Immediately add thin strands of shredded coconut or thin pretzel sticks to create “bristles”
- Set on parchment paper until chocolate hardens
Storage & Reheating Tips
Proper Storage for Maximum Freshness
These fun Halloween desserts are easy to make ahead and store, which is perfect for busy holiday preparations. Most treats can be stored in airtight containers at room temperature for 3-5 days, though items with cream cheese or fresh fruit should be refrigerated. Layer treats between sheets of parchment paper to prevent sticking and maintain their appearance. For longer storage, many of these quick easy Halloween snacks can be frozen for up to 3 weeks – just thaw at room temperature before serving.
Presentation and Serving Suggestions
Create a visually striking Halloween dessert table by arranging treats on tiered platters or themed serving dishes. Use decorative cupcake liners to hold individual treats and prevent them from touching. For school parties, individually wrap healthy Halloween snacks for school in clear cellophane bags tied with orange and black ribbons. This not only keeps treats fresh but also makes distribution easier. If you’re serving at an event where treats will sit out, choose recipes that hold up well at room temperature to ensure they look as good at the end of the party as they did at the beginning.
FAQs About No-Bake Halloween Treats
Can I make these treats ahead of time?
Absolutely! Most of these no-bake Halloween treats can be prepared 1-2 days in advance. Store them in airtight containers and keep them in a cool place or refrigerate if they contain perishable ingredients.
How can I make these treats allergen-friendly?
Many recipes can be adapted for common allergies. Use sunflower seed butter instead of peanut butter, gluten-free cookies for bases, and dairy-free chocolate alternatives. Always check candy ingredient lists carefully for potential allergens, especially when preparing Halloween snacks for school parties.
What are some healthier options for Halloween treats?
For healthier alternatives, try the ghostly banana pops, apple monster mouths (apple slices with almond butter and strawberry “tongues”), yogurt-dipped pretzel stick “bones,” or dark chocolate dipped strawberry “ghosts” with mini chocolate chip eyes.
How do I prevent candy melts from seizing?
Melt candy at a low temperature and avoid introducing any water into the mixture. If using a microwave, heat in 20-second intervals, stirring between each interval. For a smoother consistency, add a teaspoon of coconut oil or shortening.
My treats aren’t holding their shape. What went wrong?
Temperature is crucial for no-bake treats. If your kitchen is warm, refrigerate mixtures before shaping. Make sure to allow adequate chilling time for treats to set properly before decorating or serving.
FOR MORE RECIPES FOLLOW ME IN FACEBOOK ANDPINTEREST
Conclusion
Creating memorable no-bake Halloween treats doesn’t require professional baking skills or hours in the kitchen. With these simple Halloween treats for kids, you can bring the spooky spirit to any celebration while keeping stress levels low. The joy on children’s faces when they see (and taste) these creations makes every effort worthwhile. Just like my grandmother taught me, food brings people together, and these easy Halloween treats provide the perfect opportunity for connection during this festive season.

